HowTo: | Set up the Microsoft Authenticator app
This article is to help you set up Microsoft Authenticator app on your mobile device for use with your work account, for help to download and install Microsoft Authenticator, find the article on how to download and install Microsoft Authenticator on the Self-Help tab in the database. Microsoft Authenticator can be used for multiple purposes, mainly:
- Two-factor authentication: With one factor to sign in being your username and password, the other authentication factor is having the Microsoft Authenticator app on your phone to approve the sign in to your account
- Phone sign-in: a type of two-factor authentication where you are able to sign in to your account without the need for your password, just your username and your mobile device
- Code generation: you can generate a one time code to sign in to any other accounts that support Microsoft Authenticator.
For this How-to we will be using Apple ios as our operating systems. However, android or any other devices should be able to follow along with relative ease. To set up the Microsoft Authenticator app follow the steps below.
- After you download and install the app, open up Microsoft Authenticator on your mobile device.
- From here, if you are using your personal Microsoft account press the Add personal account button, if you are planning on setting up a work or school account, press skip.
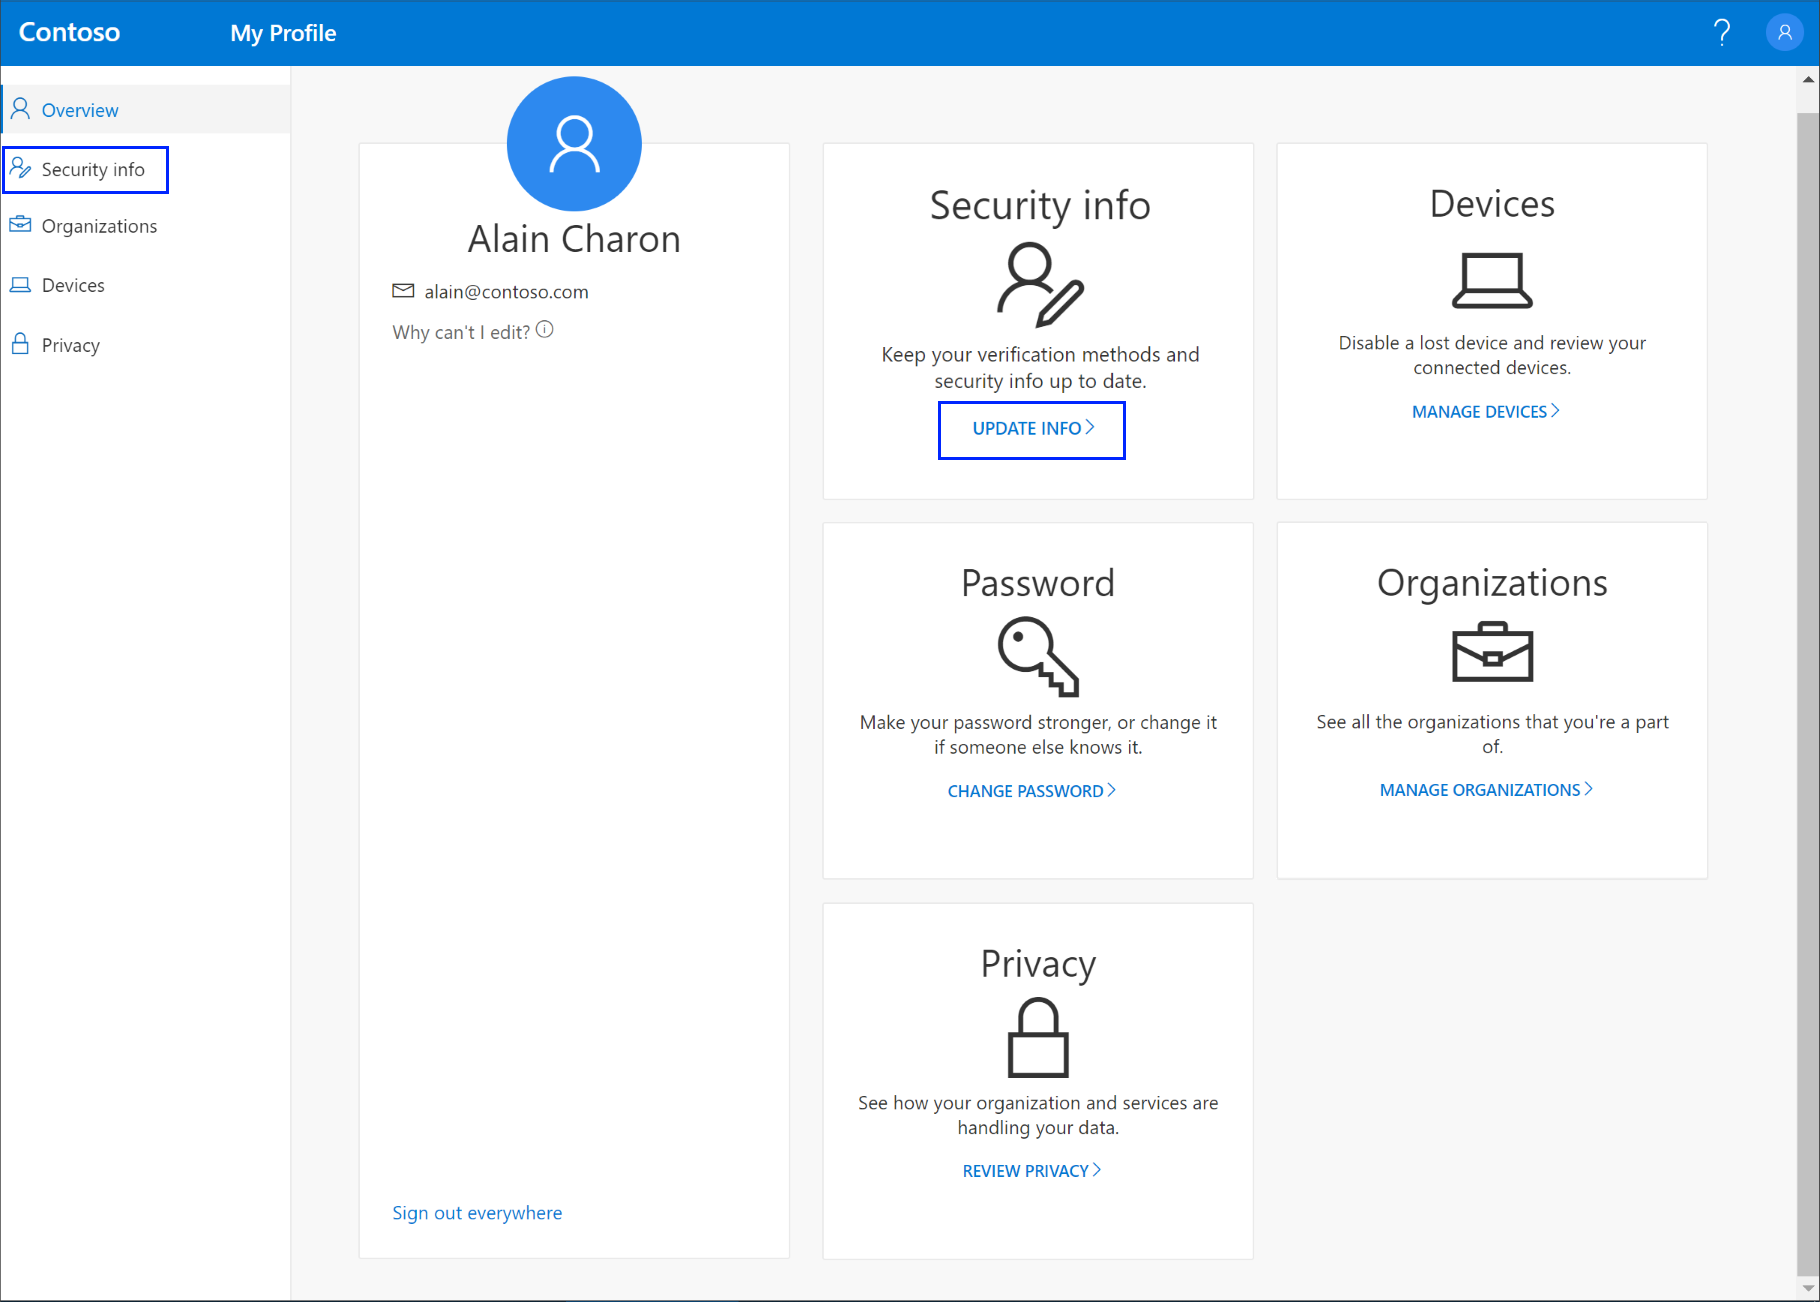
- On another device go to https://myaccount.microsoft.com/ and continue on to the steps below.
- While at the website above sign in to your work or school account, click on UPDATE INFO or ADDITIONAL SECURITY VERIFICATION, and click on the Set up Authenticator app button as well as the tab adjacent to it and a new page will pop up with a QR code.

- Back on your Microsoft Authenticator app open press the "+" on the top right corner and click on Work or school account and a new window will pop up where you can scan the QR code with your mobile device.
- After Setting up Microsoft Authenticator for use, if Microsoft Authenticator is not already the default two-factor authentication method, enable it on the Additional security verification page in the tab underneath what's your preferred option? (Note: when you choose to enable it as your default two-factor authentication method you will have to verify your app when enabling it)
- If followed the steps correctly then you have successfully installed and set up the Microsoft Authenticator app for work use. If you want to enable phone sign-in, continue with the steps below.
Enabling phone sign-in
- On your mobile device, click on your work account and from there click on Enable phone sign-in.
- In the next screen press continue and sign in to your organization's account and afterwards you have successfully set up phone sign-in. (Note: some organizations might require you to register your device with the companies registrar, do so with caution if this is a personal device.
- If followed all the steps above, you will have successfully registered your device with Microsoft Authenticator and your work account.